Strawberry Cheesecake Ice Cream
This homemade strawberry cheesecake ice cream features a creamy cheesecake base and a fresh strawberry swirl.
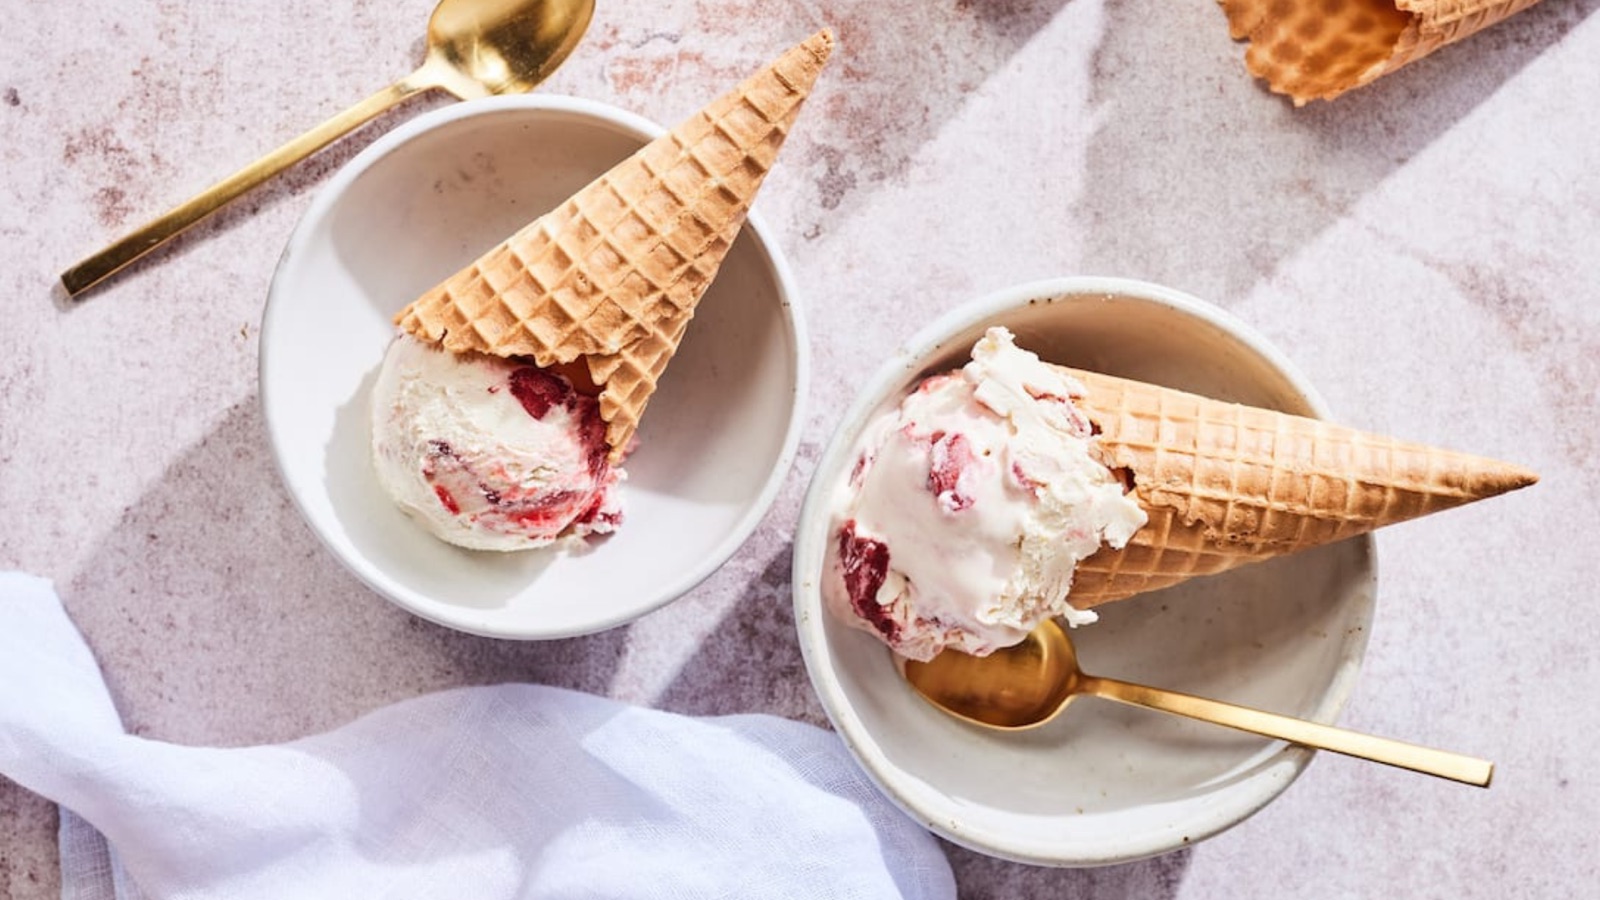
If you are going to have a dessert, it is worth making one that actually delivers on flavor. This strawberry cheesecake ice cream does exactly that. The base comes together with cream cheese, heavy cream, sour cream, and brown sugar for a rich, tangy cheesecake flavor, and the fresh strawberry swirl on top adds the bright, fruity contrast that makes every bite interesting.
The recipe does require some patience since the base needs time to chill and the ice cream needs time to freeze, but the active work is minimal. Make it on a Sunday, and you have a proper homemade dessert ready to pull from the freezer all week.
Nutrition
362 Calories | 26g Fat | 27g Carbohydrates | 4g Protein | 1g Fiber
Per Serving · Serves 8
Ingredients
- 1 cup fresh strawberries
- 2 Tbsp light brown sugar
- 2 to 3 Tbsp water
- 8 oz cream cheese, at room temperature
- 1 cup heavy cream
- 1 cup sour cream
- 2/3 cup light brown sugar
- Zest of 1 lemon
- 1/2 tsp vanilla extract
- 1 pinch sea salt
- Waffle cones for serving
Directions
- Make the strawberry swirl. Add the strawberries, brown sugar, and water to a small saucepan over low heat. Stir frequently until the mixture comes to a boil, about 5 minutes. Reduce the heat and let it simmer for another 2 minutes. Remove from heat, transfer to a shallow container, and mash the berries with a fork or spoon. Refrigerate until completely cold.
- Make the ice cream base. In a large bowl, beat the cream cheese, heavy cream, sour cream, and brown sugar together until smooth. Add the lemon zest, vanilla extract, and sea salt and mix to combine.
- Chill the base. Transfer the mixture to a covered container and refrigerate for at least 6 to 8 hours, or overnight, until very cold.
- Churn the ice cream. Pour the chilled base into your ice cream maker and churn according to the manufacturer’s directions.
- Freeze with the swirl. Transfer the churned ice cream to a freezer-safe container, spoon the chilled strawberry mixture over the top, and swirl it in gently a few times with a knife or spoon. Cover and freeze until completely solid, at least 2 hours.
- Serve. Remove from the freezer 5 to 10 minutes before serving to allow it to soften slightly. Scoop into waffle cones or bowls.
Pro tips
- Chill the base overnight for best results. The colder the base is when it goes into the ice cream maker, the better the texture will be after churning. Rushing the chill time results in a looser, icier final product. If your schedule allows, overnight is always the better option.
- Do not over-swirl the strawberry mixture. A few gentle passes with a spoon or knife are enough to create a visible swirl without fully mixing the strawberry into the base. Over-mixing loses the contrast between the creamy cheesecake layer and the fruit.
- Let the ice cream sit out before scooping. Homemade ice cream freezes firmer than store-bought because it does not contain stabilizers. Taking it out 5 to 10 minutes before serving makes it much easier to scoop and improves the texture.
- Swap the strawberries for other seasonal fruit. Blueberries, peaches, and cherries all work beautifully with this cheesecake base. Use the same strawberry swirl method with any fruit you have on hand, and adjust the sugar slightly based on the fruit’s sweetness.
- Make sure the ice cream maker insert is fully frozen. If your machine uses a freezable bowl insert, it needs to be in the freezer for at least 24 hours before churning. A partially frozen insert will not churn the base properly, and the ice cream will not set correctly.
Taking control of your nutrition starts with practical skills. This recipe is more than just a meal; it’s a blueprint for using what you have to create something nourishing and delicious. By incorporating simple, sustainable habits like this into your routine, you can build lasting skills that support your goals and simplify your busy life.
Want help applying this to your own life?
Explore 1:1 Coaching for individual guidance, or learn through the 12-week KickStart course.