Grilled Ribs
These grilled ribs use a simple dry rub and optional marinade to deliver fall-off-the-bone results on a gas grill in about two hours.
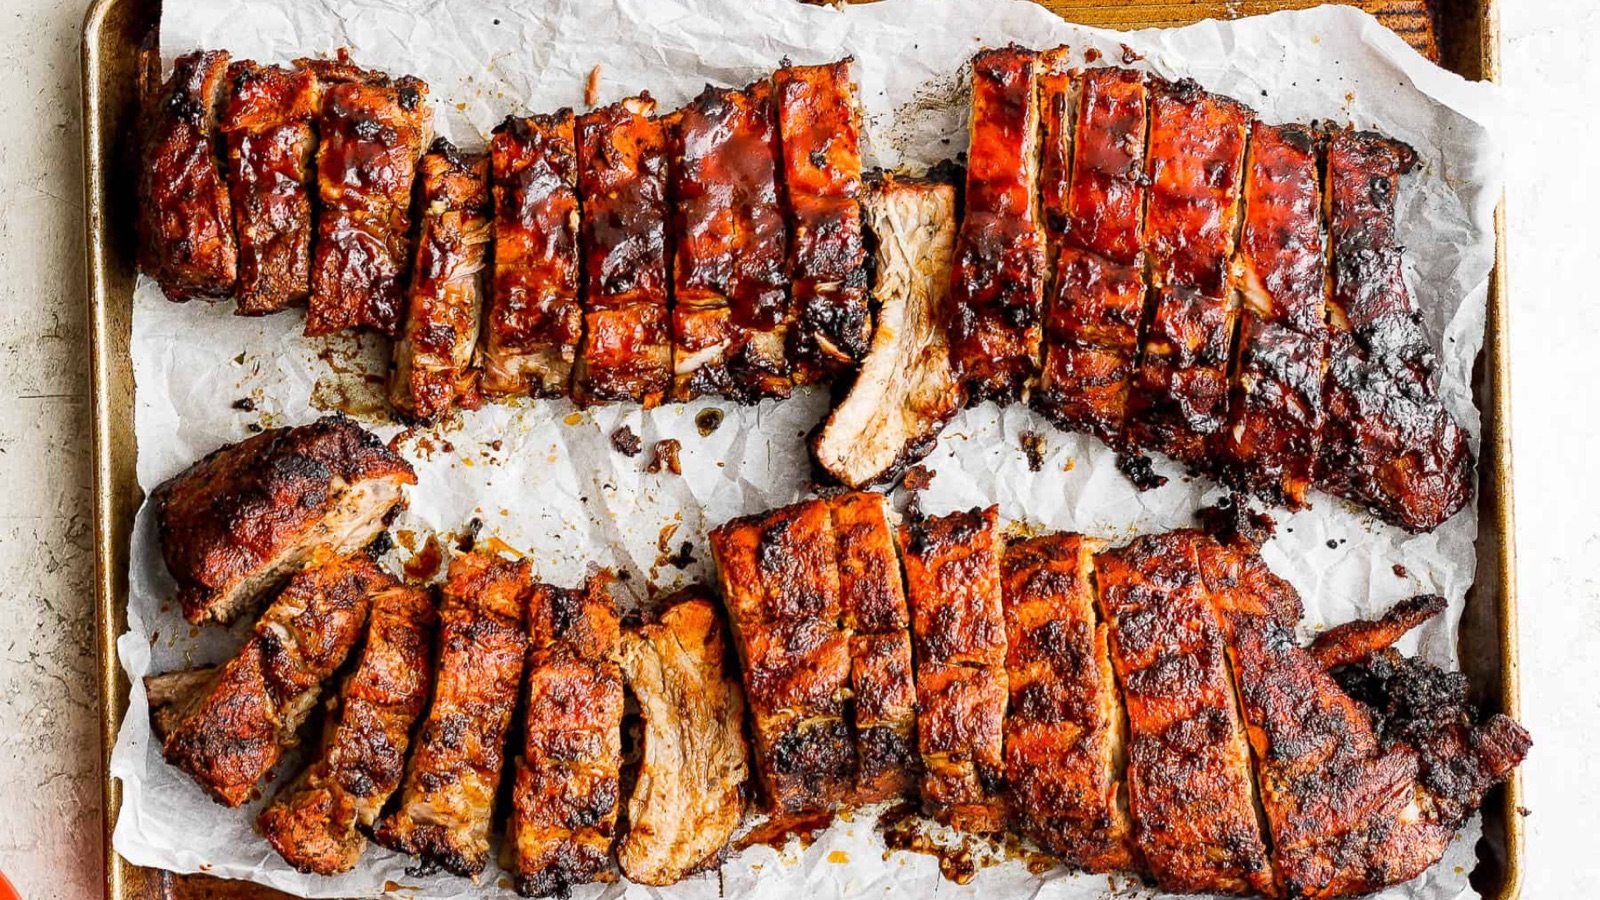
Grilled ribs are simpler than they seem. Indirect heat, a dry rub, and patience deliver tender ribs. Two racks, an hour and fifteen minutes on the grill, and a final brush of BBQ sauce yield meat that lifts clean from the bone.
Baby back ribs provide protein and, paired with a pantry dry rub and BBQ sauce, fit into structured eating without fuss. Make extra and have leftovers for days.
Nutrition
487 Calories | 31g Fat | 21g Carbohydrates | 29g Protein | 2g Fiber
Per Serving · Serves 8
Ingredients
- 1/3 cup soy sauce
- 1/4 cup extra virgin olive oil or avocado oil
- 1/4 cup apple cider vinegar
- 2 Tbsp garlic, minced
- 2 Tbsp ketchup
- 1 tsp garlic powder
- 1 tsp onion powder
- 1 tsp lemon zest
- Pinch of kosher salt and ground black pepper
- 2 racks baby back ribs (about 3 to 4 lbs each)
- 2 1/2 Tbsp smoked paprika
- 2 1/2 Tbsp lemon pepper
- 1 1/4 Tbsp kosher salt (do not substitute table salt)
- 1 Tbsp smoked garlic powder
- 1/2 Tbsp onion powder
- 1/2 Tbsp ground black pepper
- 1/2 tsp cayenne pepper (optional)
- 1 cup BBQ sauce (homemade or store-bought)
Directions
- If using the marinade, whisk all marinade ingredients together in a medium bowl and set aside.
- Pat both racks of ribs dry with paper towels. Place the meat side down on a baking sheet. Use a small knife to lift a corner of the membrane on the underside of each rack and pull it off completely.
- Place ribs in a 9×13 pan and pour the marinade over the top, rubbing it into every surface. Cover and marinate for at least 30 to 60 minutes. (You can also marinate overnight in the refrigerator.)
- While the ribs marinate, combine all dry rub ingredients in a small bowl and stir to combine.
- Preheat the grill to 500 degrees F with clean, well-greased grates.
- Remove the ribs from the marinade and let the excess drip off. Coat every surface thoroughly with the dry rub.
- Place both racks of meat side down over the middle burner. Reduce the heat to 300 degrees F. Turn off the middle burner and keep the outer two burners on as low as they will go. Close the lid.
- Cook for 30 minutes, then flip. Continue cooking with the lid closed until the internal temperature reaches 190 to 203 degrees F. (190 degrees F gives a firmer bite; 203 degrees F gives fall-off-the-bone tenderness.)
- Total cook time is typically just over one hour, depending on rib thickness and outdoor temperature.
- When the ribs are about 5 degrees away from your target temperature, brush the tops generously with BBQ sauce. Close the lid and finish cooking.
- Remove the ribs from the grill, place them on a baking sheet, and loosely cover them with foil. Let rest for 30 to 60 minutes before slicing and serving.
Pro tips
- Remove the membrane before cooking. It is a thin connective tissue layer on the underside of the rack. Leaving it on the blocks prevents the dry rub from penetrating the meat, making the ribs tougher. A small knife under one corner and a firm pull is all it takes.
- Use a meat thermometer, not the clock. Cook time varies based on rib thickness, outdoor temperature, and your specific grill. The internal temperature is the only reliable indicator of doneness. Pull at 190 degrees F for a firmer bite or 203 degrees F for fall-off-the-bone results.
- Do not skip the rest. Tenting the ribs in foil for 30 to 60 minutes after grilling allows the juices to redistribute through the meat. Cutting into them too early loses that moisture onto the cutting board rather than keeping it in the ribs.
- Use kosher salt, not table salt. The dry rub calls for a notable amount of salt by volume. Table salt is much denser than kosher salt, and using the same measurement will make the ribs far too salty.
- Apply BBQ sauce only at the end. Adding it too early causes the sauce’s sugars to burn before the ribs finish cooking. Brush it on only during the final few minutes.
Taking control of your nutrition starts with practical skills. This recipe is more than just a meal; it’s a blueprint for using what you have to create something nourishing and delicious. By incorporating simple, sustainable habits like this into your routine, you can build lasting skills that support your goals and simplify your busy life.
Want help applying this to your own life?
Explore 1:1 Coaching for individual guidance, or learn through the 12-week KickStart course.